
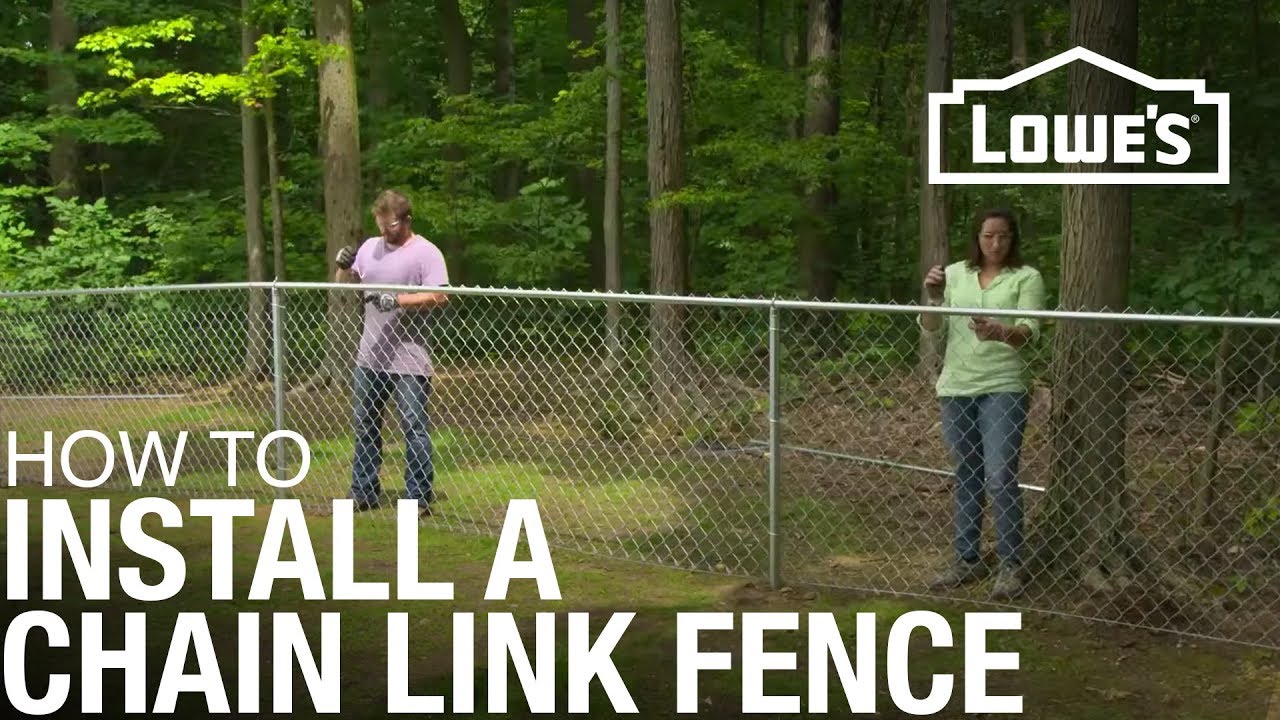
Installing a chain link fence is an excellent addition to any property, providing security, privacy, and style. With the suitable materials and tools, installing your chain link fence that will last for years is easy. Before starting on this project, measure the area accurately and decide what type of fencing material will work best for your needs. Then prepare the ground by clearing obstacles or leveling out hills as necessary using stakes, string lines or soil-filled bags as guides before setting up terminal posts at each corner. You’ll also need line posts placed every 10 feet along with top rails and tension bands to securely attach mesh fabric between them with wire ties or aluminum fasteners – completing your new chain link fence installation!
Why Sell Your Home to ASAP Cash Offer?
- You Pay Zero Fees
- We Close quickly 7-28 days.
- Guaranteed Offer, no waiting.
- No repairs required, sell “AS IS”
- No appraisals or delays.
Get An Offer On Your Home In 24 Hours!
Planning Your Chain Link Fence Project
When planning a chain link fence project, there are several important steps one needs to consider. First, measure the perimeter and establish the exact location of your fence line. Then choose quality materials that will stand up against weathering, pests and time. Once you have all the necessary supplies – such as posts, tension bands, and rails – then you must prepare the site for installation by clearing obstructions and leveling out any rough spots in the terrain.
Afterward, mark post locations so they can be accurately placed before securing with terminal or line posts plus top rails & tension bands if needed before finally attaching fabric with unrolling/stretching method followed by the securement process outlined above. All these components when done correctly, make an attractive yet enduring addition to property boundary lines!
Choosing the Right Chain Link Fence Materials
Choosing the right chain link fence materials is important in creating a secure and attractive boundary. Once you’ve laid out your perimeter, selected posts are installed and tension bands are attached to them for extra security. It’s then time to connect the material of choice – usually galvanized steel wire mesh or powder-coated metal frames with PVC fabric inserts – to complete each run of fencing. Durable vinyl-coated steel may also be used if desired as it requires less maintenance than traditional types and offers enhanced privacy properties. Considerations should also be considered when selecting materials such as corrosion resistance, ease of installation and cost-effectiveness over time.
Preparing the Ground for Chain Link Fence Installation
Preparing the ground for chain link fence installation is vital in ensuring that your project runs smoothly. Before beginning, it’s important to clear any obstructions and level the area so the posts are firmly placed in their designated spots. Afterward, mark each post location using string or marking paint before sinking them into the earth. Once all of this is completed, you’re ready to attach top rails and tension bands—and finally, secure your chain link fabric! With careful planning beforehand along with quality materials from <Company name>, constructing your chain link fence will be a breeze!
Clearing Obstructions and Leveling the Area
Before installing a chain link fence, it is important to clear obstructions and level the area. This includes removing existing vegetation like shrubs and mowed grass, as well as doing away with any stones or limbs that may be scattered about. It’s equally necessary to measure out an even line along which posts will be installed so there are no deviations throughout installation process. Once these preliminary steps have been taken care of, you can start setting up your chain link fence materials!
Marking the Location of Fence Posts
Marking the location of fence posts is a key step in installing any chain link fence. Accurately placing each post will ensure that your fencing not only looks great but is also stable and secure. To begin, use string to draw out the perimeter of where you want the fence line to be located. Make sure it’s level by using a carpenter’s level or laser beam for accuracy. Then using stakes and paint (or spray can), mark off where each post should go – starting at one corner then marking intervals along both sides until arriving at the opposite side of your chosen length/area.. Once all these steps are complete, you’ll have an outline marked off on which you can easily place your terminal posts and other line posts during the installation stage!
Setting Up Chain Link Fence Posts and Rails
Setting up chain link fence posts and rails can be easy if you plan. Before beginning, make sure to measure the perimeter of your proposed fence area in order to acquire all the necessary materials for installation. Choose durable materials such as galvanized steel-coated posts and heavy-gauge wire mesh fabric – they will last much longer than cheaper alternatives. Once you have gathered everything needed, prepare the ground by clearing any obstructions or debris from the intended placement site and leveling out any irregularities that may impede proper setup of your framework before marking outpost locations with spray paint or surveyor flags. Following this, install terminal and line posts into their designated spots with the concrete mix, then attach top rails in between each post for additional frame support. Finally finish off by unrolling a section of fencing material onto frames, stretching it tautly around corner anchors where possible; use tension bands at joints to secure cover firmly along entire length before securing it completely with supporting accessories as required!
Installing Terminal and Line Posts
Installing terminal and line posts is one of the most important steps in building a chain link fence. The types of posts you will need to use depend on the size, shape, and materials needed for your particular project. Terminal posts are generally used at each corner, while line posts can be spaced out along straight sections or curves depending on their material type — steel frames with wooden poles are an increasingly popular choice. Assembling these structural components requires precision as they must support both top rails and tension bands that secure pieces of fabric together over time. Make sure to take careful measurements beforehand so you have the right amount or supplies – nothing worse than realizing halfway through an installation that something isn’t quite fitting correctly!
Attaching Top Rails and Tension Bands
Securing your chain link fence is necessary for establishing its longevity and reliable structure. Attaching the top rails, or horizontal beams along the edge of the posts, and tension bands reinforce this stability. These pieces – combined with secure post installation in concrete and attaching hardware such as cable ties – help prevent sagging over time from weather exposure or other sources of strain on your fence fabric. When installing tension bands to attach the mesh to posts, you should use just one band per post since excess looping can weaken their hold due to increased stress points. Also, galvanizing helps protect against rusting that could quickly damage frames if not appropriately addressed!
Attaching the Chain Link Fabric
Attaching the chain link fabric is an essential element of a successful fence installation. To begin, unroll and stretch the fencing material along your established framework. Securely attach it with tension bands so you can trust it will remain in place; this step should not be overlooked as improperly placed fabric could leave gaps or create weak spots where intruders might gain access to your property. After securing all sides, use zip ties to securely tie off any loose ends for ultimate security – ensuring <Company Name> has created a strong and reliable boundary line around your home or business!
Unrolling and Stretching the Fence Material
Unrolling and stretching the fence material is an important step in any chain link fence installation project. To ensure your custom link fencing setup is done correctly, it’s best to use a tension bar stretcher tool or come-along winch to stretch the fabric tight across large areas of your yard. This will ensure that each section of the frame, as well as the panel, stays strong by eliminating gaps along edges where wildlife could quickly enter or escape. Make sure you have all the necessary tools on hand before attempting this task; otherwise, it can cause even more frustration and headaches when trying to install <Company Name>’s quality chain link fences!